Console Guides
Roles
Roles configures your project's end-user multi-role system - custom roles like customer, driver, or support with their own collection permissions, separate from the built-in Owner/Admin/Developer/ Viewer roles under Team.
Find it
Roles is in the sidebar under the Access group.
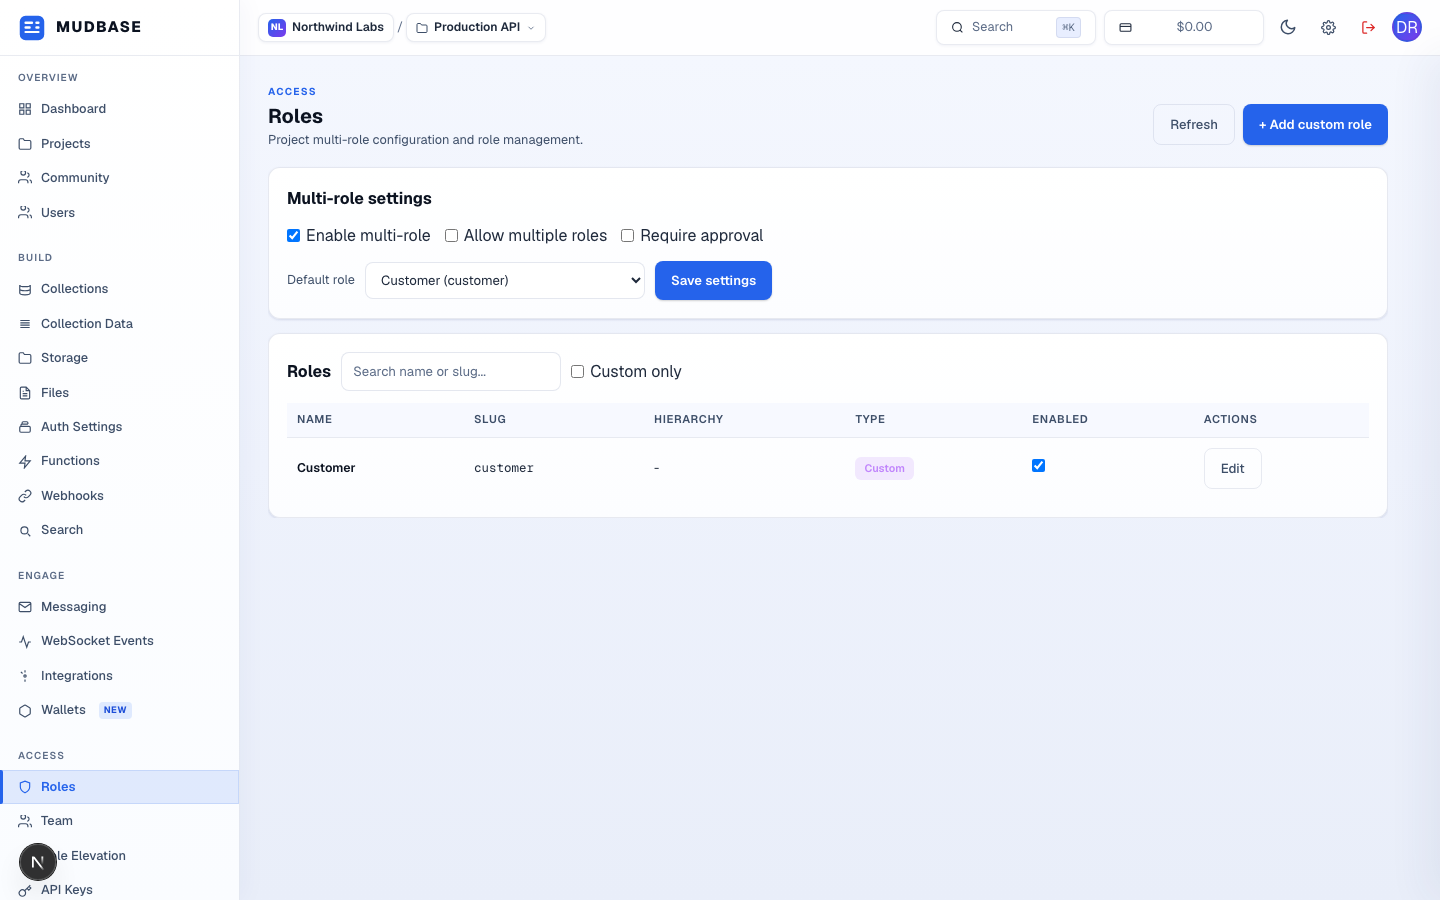
- Click + Add custom role to define a new role.
- Enable multi-role turns the whole system on for this project. Allow multiple roles lets one end user hold more than one role at once; Require approval means a new signup into a role sits pending until an admin approves it, instead of activating immediately.
- Default role is what a new end user gets if they sign up without explicitly requesting one. Click Save settings after changing any of these.
- Click Edit on any row to change its permissions or hierarchy.
Add a custom role
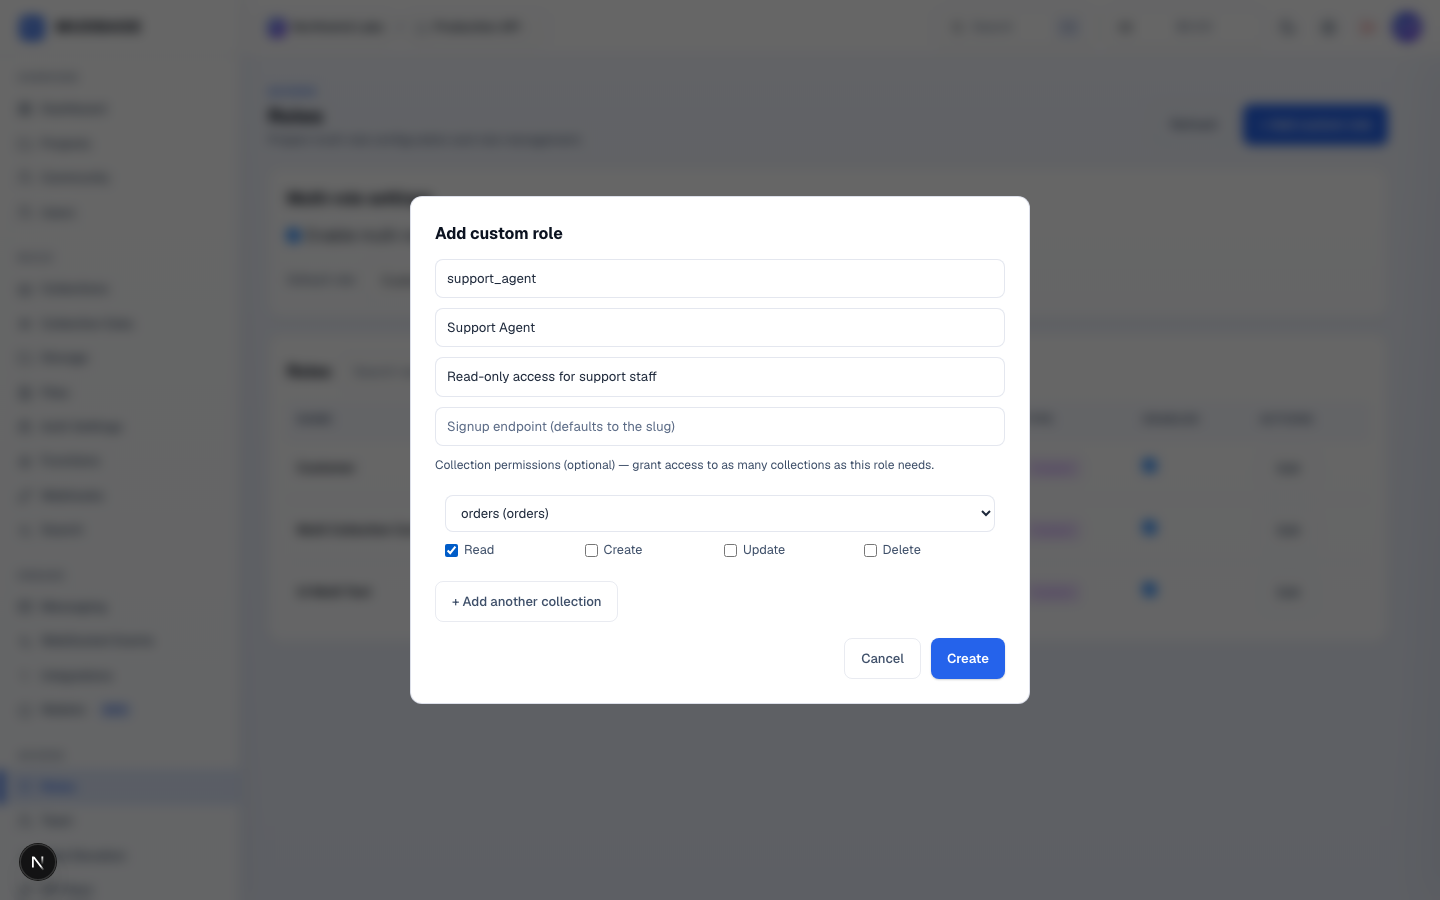
- The slug is the stable, API-facing identifier for this role - lowercase, no spaces (e.g.
rider_support). - The display name shown throughout the console.
- A short description of who this role is for.
- Pick a collection, then tick Read/Create/Update/Delete to grant this role access to it.
- Click + Add another collection to repeat the row for as many collections as this role needs - permissions are additive across rows, and each row can be removed independently once there's more than one.
- Click Create once the role's permissions look right.
Note
This page's custom roles are for your app's own end users signing up through your project's own auth. They have nothing to do with staff access to this console, which is managed entirely from Team.